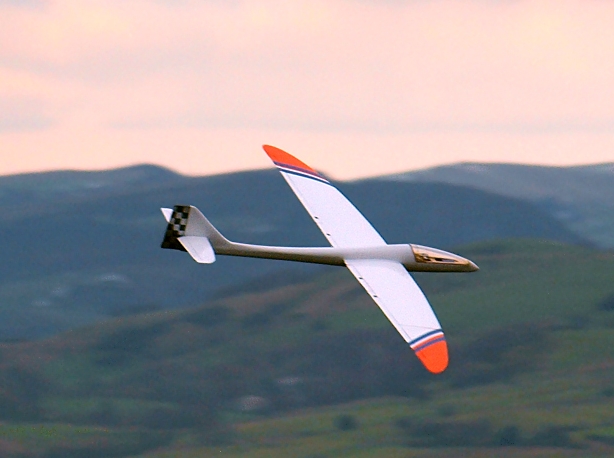
I have made quite a lot of design progress over the past few weeks. A set of parts has been produced on CAD and sent to Dylan at
Lasercraft to make a mini kit for me. This comprises of balsa wing ribs, ply ribs and liteply formers.
So while Dylan does his bit, I have started work on the fuselage jig. I am using DevFus for the fuselage design, the fuselage will be built around a laminated horizontal crutch with the formers slotted into place. The program produce a file for the jig and this is what the jig parts look like.
The output from the application is a file - DXF format - and can be exported for cutting or importing into another CAD system or PDF for viewing. This has been edited to increase the crutch slot size to 3/8" x 1/8" and also enlarge the jig frame slots to fit the 10.5mm square pine that I bought from B&Q.
I have chosen to use jig verticals 1,2,4,6,8 and 10. If I need to add others, I can cut and fit them later.
An hour or so after marking onto 4mm hard ply and cutting out with a bandsaw. The T section that the program produces is not required, nor the little triangular notches which simply indicate the former number.
The lower 'longeron' was nailed - ensuring it was straight - to an old pine shelf (flat). and then marked out for the positions for the verticals. The spacing between the verticals (assuming all 10 are used) is nominally 133mm - there are 9 gaps and the fuselage length is 1200mm long (plus nose block and rudder).
Add the verticals - ensuring that they are vertical and perpendicular to the central longeron and then add the side longerons
I have also added a large ply gusset to make sure the verticals stay vertical and provide extra strength. An excess of glue - this builders ply that I have used doesn't absorb the PVA particularly well
Now waiting for the cut parts to turn up..


No comments:
Post a Comment